| This will take some time as when you change one setting it will throw out one of the others.
4 Next pull back the bonnet release handle under the dash and tie it back to the steering wheel with a length of wire so the bonnet retaining catches are held open.
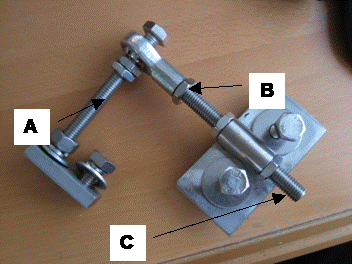
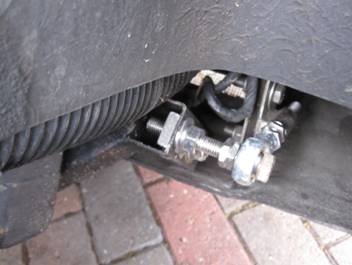
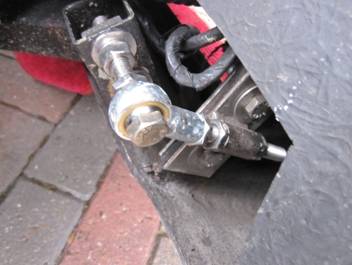
5 Replace ONE retaining pin and cover the hole into which it fits with a length of masking tape. Apply something to the pointy end of the retaining pin (I used some dark emulsion paint because I knew it would be easy to remove) and gently lower the bonnet so the painted pointy bit just touches the masking tape. Open the bonnet and see where the mark is in relation to the hole and adjust the retaining pin and repeat until the marking is approximately in the centre of the hole. Remove the masking tape and GENTLY close the bonnet (the catch is still retained open), the pin should go into the hole without catching. If it doesn’t then you just have play around with the pin position until it will. I practice I found the pin had to be very slightly offset to the ‘north’ of the hole to achieve this. The bonnet should now ‘bounce’ on the spring of the retaining pin freely.
6 Crossing every finger now release the retaining catch and try the bonnet release for real on the one pin. It should release OK, if not tie back the release lever and tug and shake gently in all directions until it pops open (this is why you do one side at a time). Also if all else fails its just possible to get a spanner to the retaining nut of the pin to free the bonnet as long as you removed the rear wheel arch.
7 Once the first side is working fine repeat on the other side.
Its not a quick job the first time I did it, it took two frustrating days and in total I had to repeat the exercise again to be satisfied.
|


