1.
If the problem is with your heater then I would strongly recommend checking
out the feed and earth wires before stripping out the dash. I wish that I
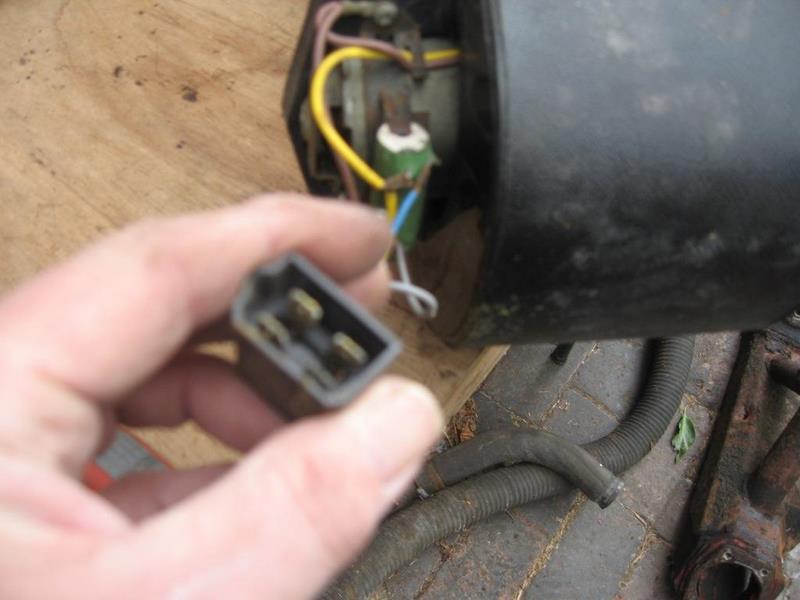
had. There's a 4 way connector on a flying lead off the heater motor itself
which you should check for continuity. You can get to this connector through
the left hand removable dash panel. With this panel swung down or removed
(and the fusebox cover dropped down) you can see the plastic heater box,
just behind all of the switches and dials.
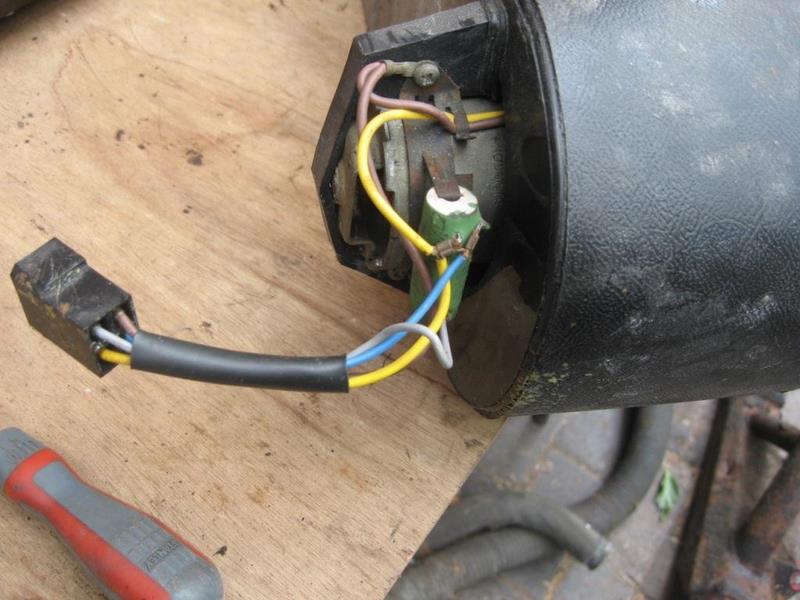
2. The heater motor is on the front (bulkhead side) of this box, on the left.
You can fish your hand in to feel the wires attached to it and follow them
back to the connector. There is a resistor in the motor wires which does the
twin speed control. Don't confuse this with the connector. The resistor is
about 15mm diameter and 40mm long.
3. If you can confirm that there's power to the motor and an earth away from it
then it'll be a dash strip out to get the motor out for refurb/replacement.
This is a fairly easy job but you will HAVE TO write down every wire colour
and connection that you remove if you want to have any chance of putting it
back together again.
4. Firstly disconnect the battery. Some of the wires you are going to remove
are permanent battery fed live, e.g. the window lift wires.
5. Mechanically the dash is held in place by 2 screws at the back of the centre
console portion, one on either side. You will have to tilt the seats
forwards to get to them. They are hidden beneath black screw covers which
you will have to carefully prise off. At the dash end there is an angle
bracket at either side of the dash which you will have to remove. These are
held in place by a stud and nut on the dash itself with another bolt going
through the A pillar. There is another black screw cover in the door shut
area which is the other end of the bolt.
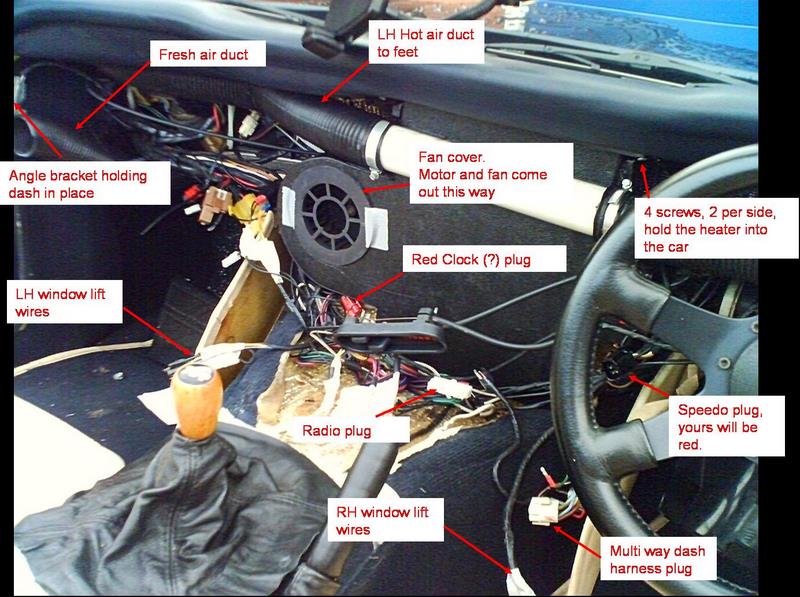
6. You will probably find it easier to pull the fresh air tubes off the back of
the bulls eye vents and ease the vents out of the dash. If you do this then
you can see the bracket and fixings. Makes life a bit easier.
7. Then you will have to remove the upper and lower steering column shrouds.
The upper one is held in place with 1 screw and the lower one by 3 screws.
It's easiest to lie on your back on the driver seat to get to the screws on
the lower one.
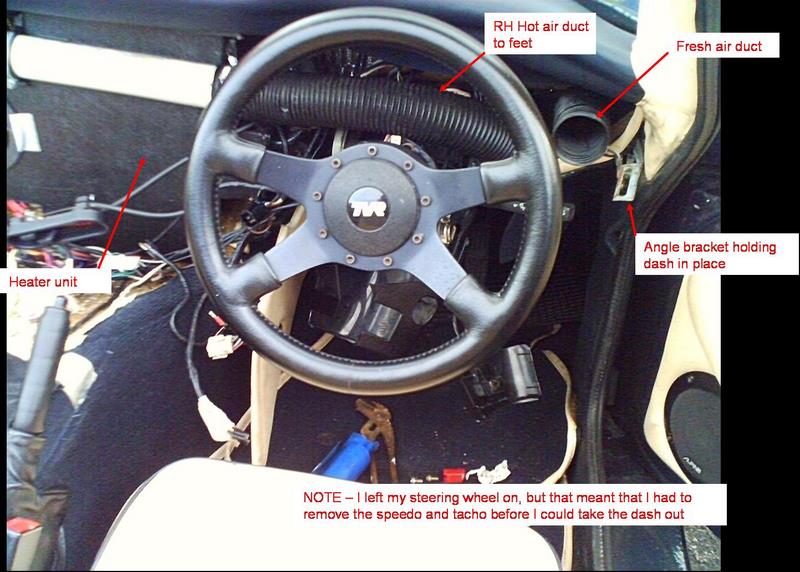
8. Next take the steering wheel off. Make a note of its position so that you
can put it back on straight later.
9. Now you've got to take out and disconnect the 3 rotary switches, Fan, dash
lights and fogs. At the back of each switch are 2 tangs which you will have
to squeeze in while carefully removing the switches forwards out of the
dash. Make a note of the colours of each wire and which terminal they are
connected to and wrap a 'flag' of masking tape around each switch set of
wire and write their respective function on the tape flag, e.g. heater.
10. Then it's the two window lift switches. Ease them out forwards and do the
same thing with the wires again.
11. Now there are 3 electrical connectors to disconnect. On mine there was a
multi way connector on the drivers side which fed the dash harness, i.e. up
to the warning lights and gauges. Also there was a red/red 3 way connector
on the left hand side which fed the clock (I think) and a black/white 3 way
connector which also fed something on the dash.
12. Now you are ready to ease the dash forwards. But only by about 5cm as you
haven't disconnected the heater controls yet. The heater controls are held
in place by 2 U shaped strap brackets. With the dash eased forwards you can
get to the central nut on each of these brackets and undo them and remove
the brackets.
13. Then pull the heater controls towards you out of the dash. It won't move far
as it's connected to the control cables. Once you have it clear of the dash
hole then turn it on its side so that it will fit back through the dash
hole.
14. The only things holding in the dash now should be the wires to the speedo
and tacho. The tacho just connects to a red/red 3 way connector somewhere in
the mass of dash wiring. The speedo has a similar red\red 3 way connector
and an earth lucar on the back of it which need to be disconnected. You
don't have to remove any of the lights in the back of these gauges as they
are part of the dash harness which will come out with the dash.
15. Best to have the roof down now to ease the lift out of the dash.
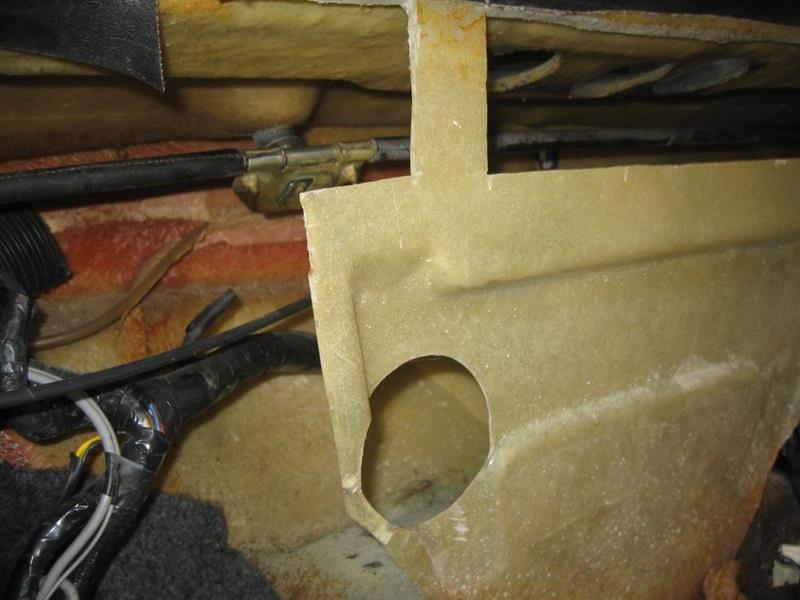
16. You will now be looking at the plastic heater casing with a plastic air
inlet cover at the left hand end. If you ease around this cover with a
Stanley knife then it will come off giving you access to the fan and motor.
The motor is held in place by a steel clamp bracket with 2 posidrive screws.
If you remove the screws and bracket and have already disconnected the
electrical connector then you can pull the motor and fan assembly out
through the air inlet, i.e. back into the passenger area of the car.

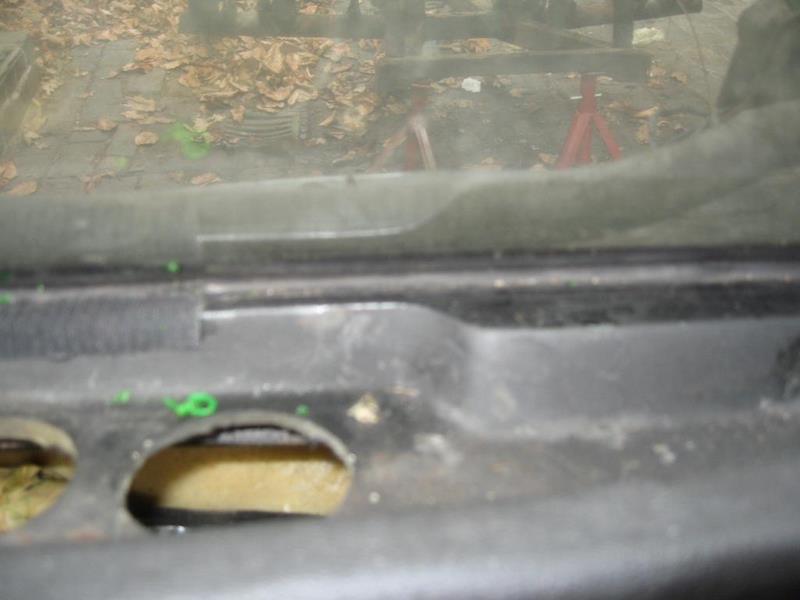
17. If you want to pull the heater itself back into the car to get to the front
of it then you will have to take off the 2 footwell air duct tubes. Then the
heater is held in place by 4 screws, 2 either side on the heater top flange
going up into the dash topper. This will give enough flexibility to move the
heater backwards without having to undo the heater water hoses.
18. If you want to take the fan off the motor then place the unit, fan
downwards, into a saucepan of boiling water for a few minutes. Then pull the
fan off the motor.
19. Re-assembly is the reverse of removal, as they say in the manuals. Enjoy
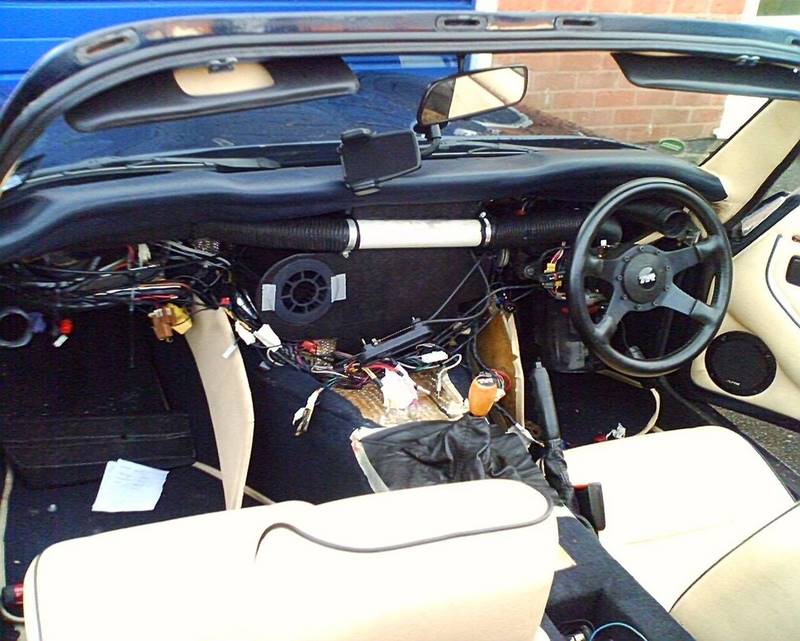
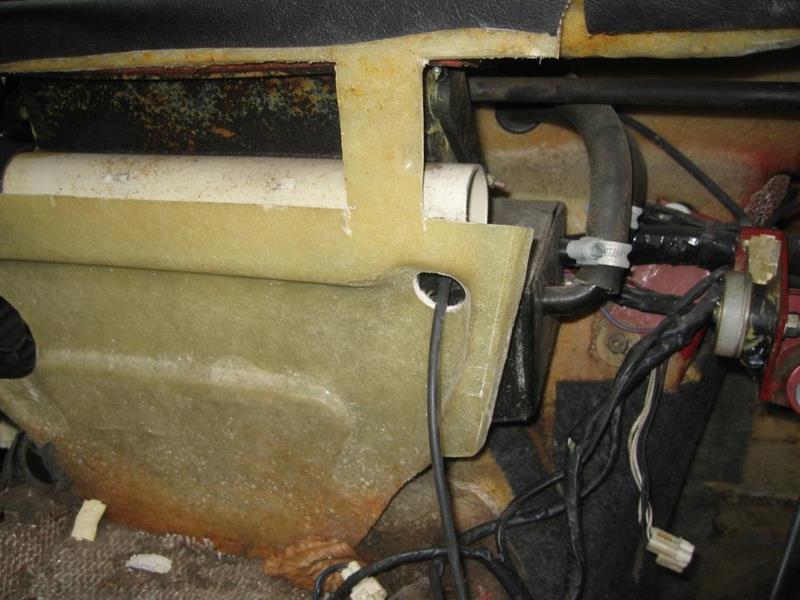
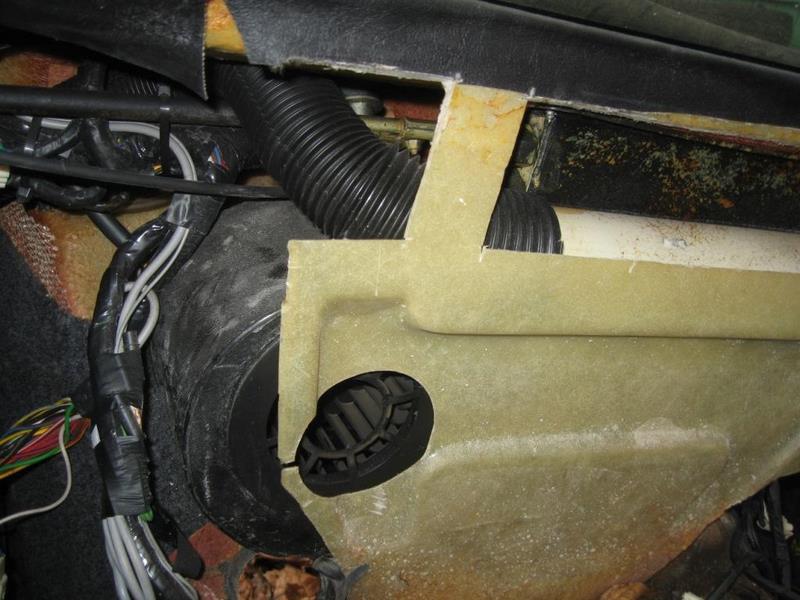
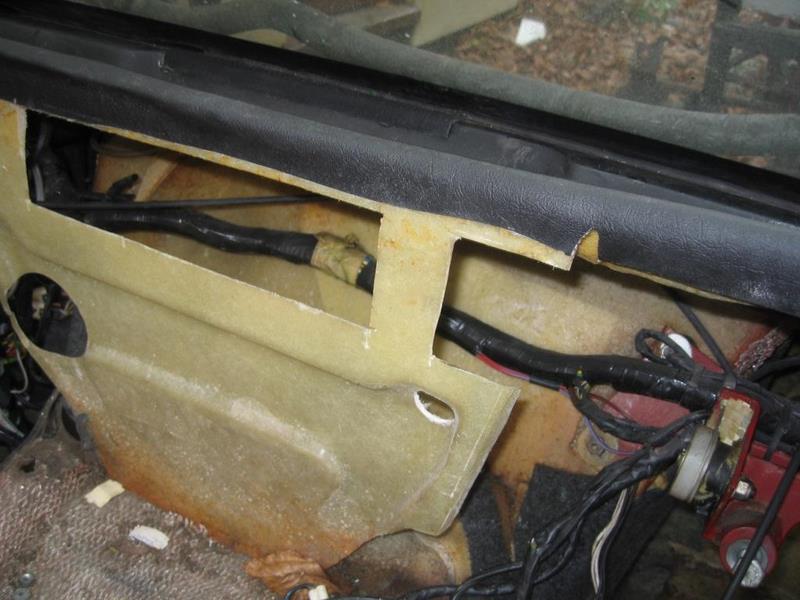
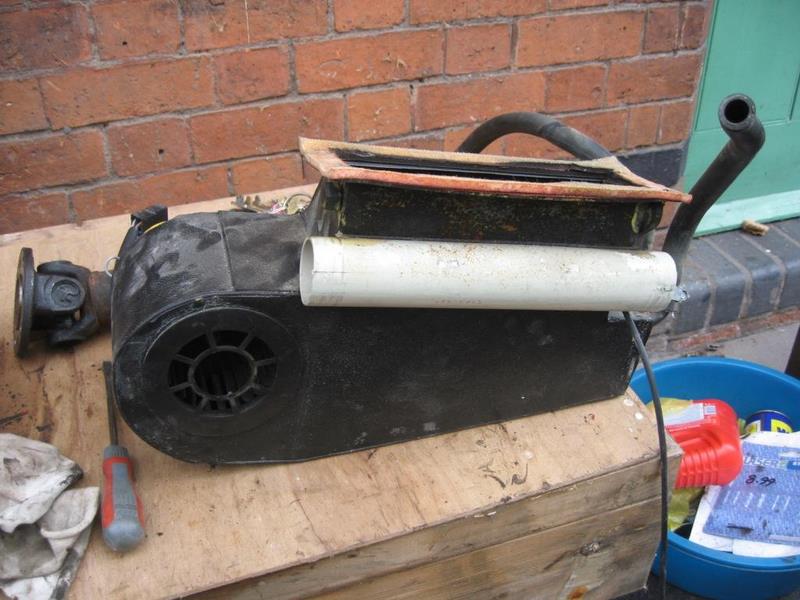
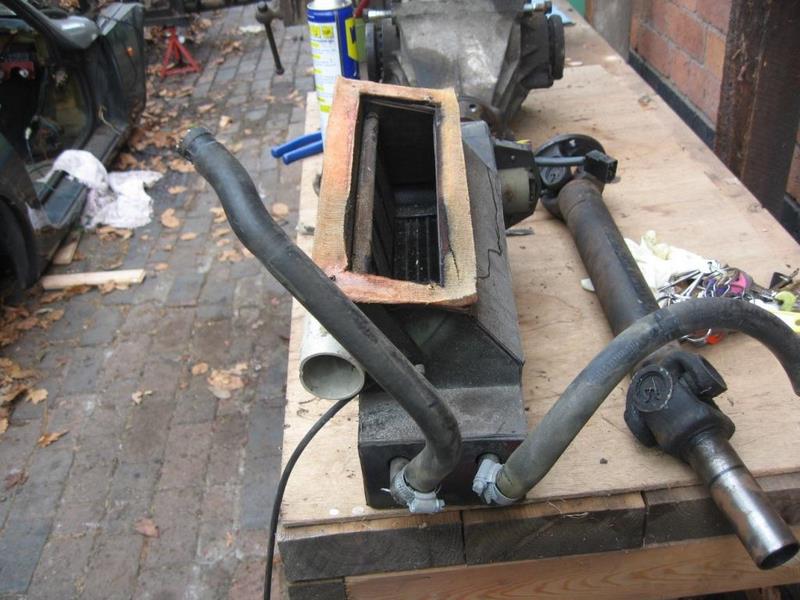
Below are S3 Heater Matrix and Dash Pictures (provided by Norman Farmer) that may assist fot those attempting the above job on an S3/4
Home Page |